 Pin it
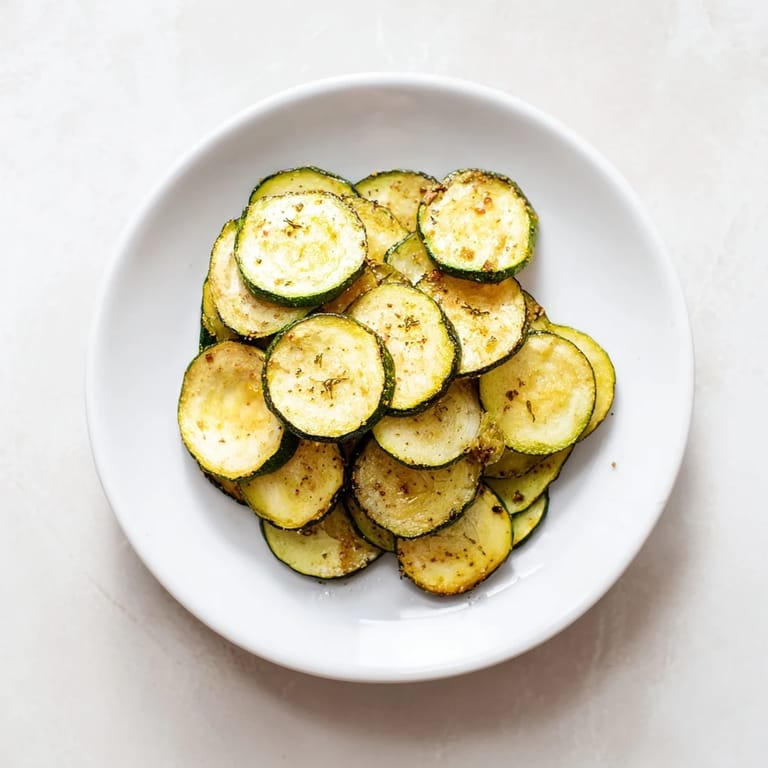
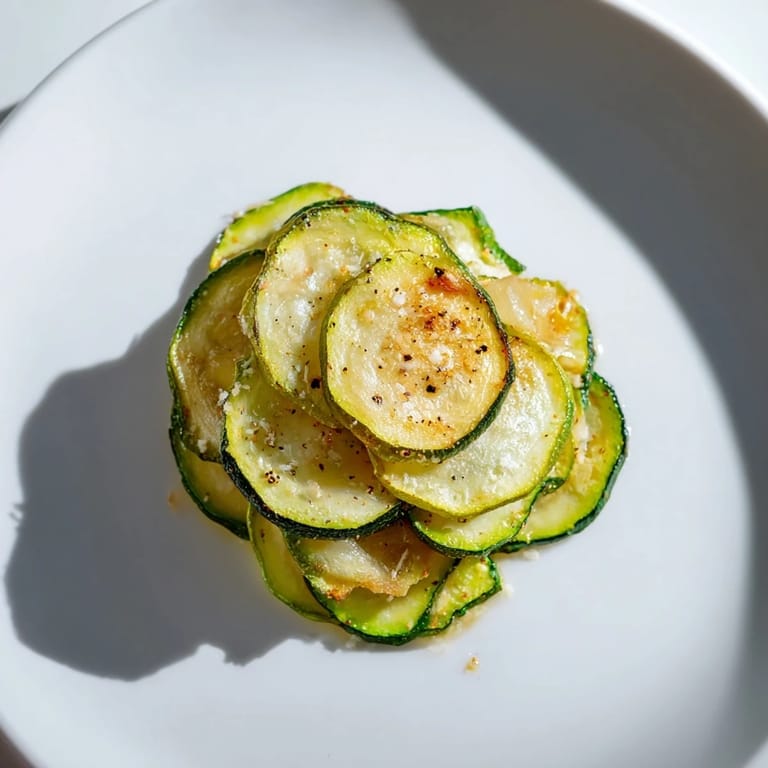
 I discovered crispy zucchini chips by accident one summer afternoon when I was trying to use up a zucchini from the farmers market before it went soft. Instead of grating it into bread, I grabbed a mandoline on a whim and started slicing thin rounds. The kitchen smelled like nothing special at first—just fresh zucchini—but once they came out of the oven, golden and crackling, I realized I'd stumbled onto something better than any store-bought chip. Now they're my go-to snack when I want that satisfying crunch without the guilt.
I made these for a friends movie night once, not sure if anyone would eat them. He grabbed a handful before the opening credits and spent the whole first act reaching for more. By the time the movie ended, the bowl was empty and he was asking for the recipe. That moment told me everything—when people choose something healthy without even thinking about it, you know you've nailed it.
Ingredients
- 2 medium zucchinis: Look for ones that are firm and have smooth skin, since they'll slice more evenly and release less water during baking.
- 1 tablespoon olive oil: This is your binding agent that helps seasonings stick and creates those golden edges.
- 1/2 teaspoon sea salt: Pulls moisture from the zucchini and deepens the flavor as they bake.
- 1/4 teaspoon freshly ground black pepper: Freshly ground makes all the difference in brightness compared to pre-ground.
- 1/2 teaspoon garlic powder (optional): Adds savory depth if youre going for a more substantial snack.
- 1/2 teaspoon smoked paprika (optional): This is my secret weapon for making them taste less like health food and more like something you actually want.
Tired of Takeout? 🥡
Get 10 meals you can make faster than delivery arrives. Seriously.
One email. No spam. Unsubscribe anytime.
Instructions
- Preheat and prepare:
- Set your oven to 225°F and line two baking sheets with parchment paper. This low temperature is key—it dries them out slowly and evenly instead of burning them.
- Slice your zucchini:
- Wash and thoroughly dry your zucchinis first, then slice them into thin, even rounds about 1/8 inch thick using a mandoline or very sharp knife. Even thickness is what makes them cook uniformly.
- Remove excess moisture:
- Pat each slice dry with paper towels until theyre no longer wet to the touch. This step determines whether you get chips or chewy disappointment.
- Season generously:
- Toss the slices in a bowl with olive oil and all your seasonings, making sure every piece gets coated. Taste a raw slice to check the seasoning before you commit them to the oven.
- Arrange in a single layer:
- Spread the slices on your parchment paper without overlapping them. Crowding the pan is the fastest way to end up with soggy chips instead of crispy ones.
- First bake:
- Bake for one hour, then rotate the pans and flip every chip. Theyll still be soft at this point, which is exactly right.
- Finish baking:
- Bake for another 30 to 40 minutes until they turn golden and feel crispy when you press one. Start checking around the 30 minute mark because ovens vary.
- Cool completely:
- Let them sit on the baking sheet even after you pull them out. They crisp up even more as they cool down and become their best crunchiest selves.
 Pin it
 These chips taught me something about food that stuck with me: sometimes the simplest recipes are the ones that surprise people most. There's no elaborate technique or fancy ingredients, just zucchini and patience. That simplicity is where the magic lives.
The Seasoning Game
Once you master the basic version, the fun starts. I've made batches with Italian seasoning that reminded me of pizza, ones dusted with chili powder that had a nice kick, and even a nutritional yeast version for when I wanted something cheesy tasting. The foundation stays the same—thin slices, low heat, proper drying—but the seasonings let you change the whole personality of the snack. Some days I want them plain and simple to taste the zucchini itself, other days I want them bold and savory.
Storage and Keeping Them Crispy
The honest truth is that these are best eaten the same day you make them. They start losing their crunch the moment they touch humid air, which is why I always make them right before serving if I can. If you do have leftovers, an airtight container keeps them decent for a day or two, but I've learned not to count on it. The second day they taste fine but texture-wise, you're eating history.
Why This Works as a Snack
What makes these special is that they actually feel like a treat even though theyre just vegetables. People reach for them without thinking twice, which means you can set a big bowl out and watch it disappear. Theyre also naturally low in everything bad and high in satisfaction, which is a rare combination. They work at parties, as an afternoon pick-me-up, or that weird time at night when youre hungry but not actually hungry.
- They satisfy the texture craving for crunch that healthy alternatives usually miss.
- Make a double batch if youre feeding more than two people because they vanish faster than you'd expect.
- Store any leftovers away from other foods or the humidity will steal their crispiness overnight.
 Pin it
 Make a batch of these this week and taste the difference between homemade and anything you've bought before. Once you realize how easy they are, you'll wonder why you ever bought chips in a bag.
Recipe FAQ
- → How thin should zucchini slices be for best results?
Slices about 1/8 inch (3 mm) thick work best, ensuring even baking and crispiness.
- → Can I add extra flavors to the zucchini chips?
Yes, sprinkle with Parmesan cheese or try seasonings like chili powder, Italian herbs, or nutritional yeast before baking.
- → What oven temperature is ideal for baking these chips?
225°F (110°C) allows the zucchini to dry slowly, resulting in a crunchy texture without burning.
- → How to store zucchini chips to keep them crispy?
Store in an airtight container and consume within 2 days to maintain crunchiness.
- → Are these chips suitable for gluten-free and low-carb diets?
Yes, made with just zucchini and natural seasonings, they fit gluten-free and low-carb lifestyles.