 Pin it
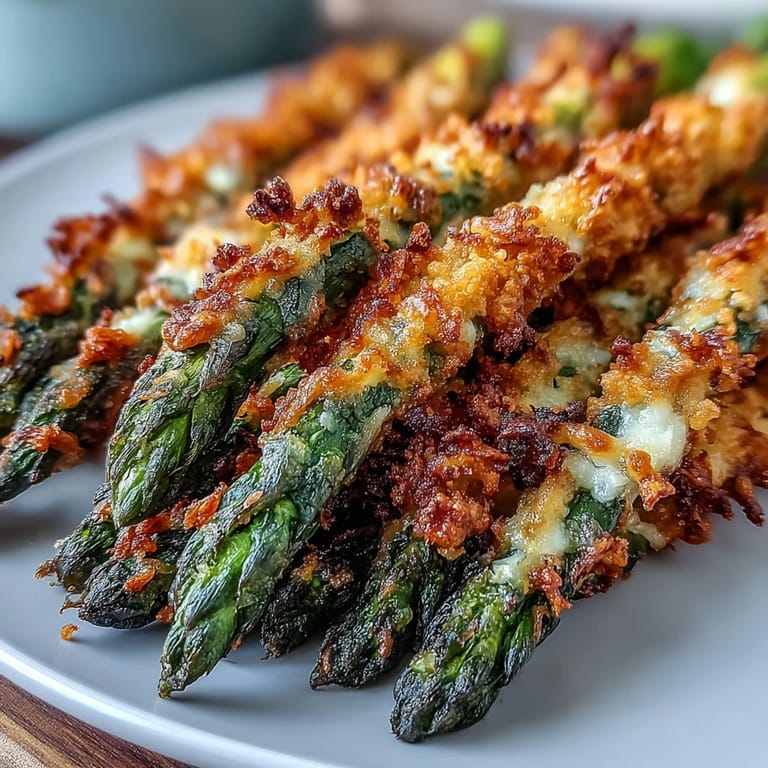
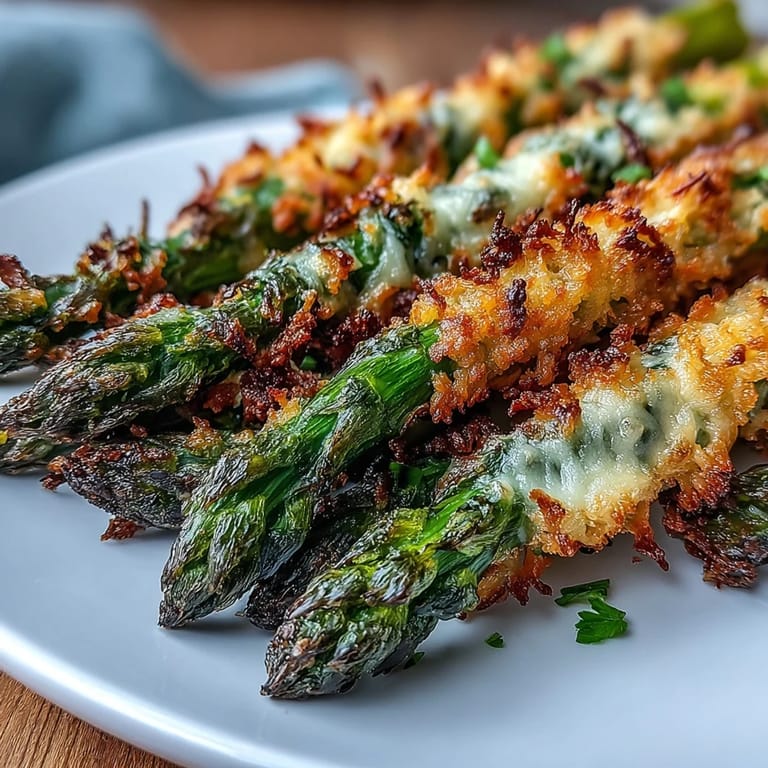
 My partner walked into the kitchen one evening and asked why the house smelled like a cheese shop collided with a bakery. I was elbow-deep in panko, trying to perfect a crispy coating for asparagus that wouldn't slide off or turn soggy. After three failed batches, I finally nailed it by pressing the crumbs on like I meant it and giving each spear enough space to breathe on the pan. The result was so good we abandoned our dinner plans and ate the entire tray standing at the counter, fighting over the crispiest ones.
I made these for a casual dinner party once, and a friend who claimed to hate asparagus ate seven spears before admitting they were delicious. She kept dipping them in lemon aioli and asking what I did to make them taste nothing like the mushy green sticks she remembered from childhood. I told her the secret was respecting the vegetable enough to give it a proper crust and not overcook it. She's been texting me for the recipe ever since.
Ingredients
- Asparagus: Choose medium to thick spears because they hold up better under the weight of the breading and stay tender without turning mushy. Pat them completely dry or the coating will slip right off.
- All-purpose flour: This first layer creates a dry surface that helps the egg mixture cling, which in turn anchors the panko crust.
- Egg and milk: Whisking them together creates a smooth binder that glues the breadcrumb mixture to each spear evenly.
- Panko breadcrumbs: These Japanese-style crumbs are larger and airier than regular breadcrumbs, which is why they crisp up so beautifully in the oven.
- Asiago cheese: Finely grated Asiago melts into the crust and adds a nutty, salty depth that makes every bite savory and rich.
- Parmesan cheese: Optional but recommended, it boosts the umami and helps the crust brown more deeply.
- Garlic powder, onion powder, smoked paprika: This trio builds layers of flavor without overpowering the asparagus, and the smoked paprika adds a subtle warmth.
- Olive oil: A light drizzle before baking encourages golden browning and crispness without frying.
- Lemon wedges: A squeeze of fresh lemon at the end brightens the rich, cheesy crust and cuts through the richness.
Tired of Takeout? 🥡
Get 10 meals you can make faster than delivery arrives. Seriously.
One email. No spam. Unsubscribe anytime.
Instructions
- Get the oven ready:
- Preheat to 425 degrees F and line your baking sheet with parchment, then drizzle or spray it lightly with oil. This prevents sticking and helps the bottoms crisp up.
- Prep the asparagus:
- Rinse the spears and dry them thoroughly with paper towels, then snap or trim off the woody ends. Moisture is the enemy of crispiness.
- Set up your breading station:
- Arrange three shallow bowls: one with flour, one with the egg and milk whisked smooth, and one with the panko mixed with cheeses and spices. Having everything ready makes the coating process fast and tidy.
- Coat each spear:
- Dredge an asparagus spear in flour, shake off the excess, dip it in the egg mixture, then press it into the panko blend, turning to coat all sides. Gently press the crumbs on so they stick.
- Arrange on the pan:
- Lay the coated spears in a single layer with space between each one. Crowding them traps steam and makes the crust soggy.
- Oil them up:
- Drizzle the remaining olive oil over the spears or spray them lightly, then gently turn each one to coat all sides. This step is what makes the crust golden and crunchy.
- Bake until golden:
- Slide the pan onto the middle rack and bake for 10 to 14 minutes, flipping halfway through, until the coating is crisp and the asparagus is tender. Adjust the time based on thickness.
- Optional broil:
- If you want an extra-deep golden crust, turn on the broiler for 1 to 2 minutes at the end. Watch it closely so it doesn't burn.
- Finish and serve:
- Pull the pan from the oven and immediately sprinkle the remaining Asiago over the hot spears. Garnish with parsley, chives, or red pepper flakes if you like, and serve with lemon wedges and your favorite dip.
 Pin it
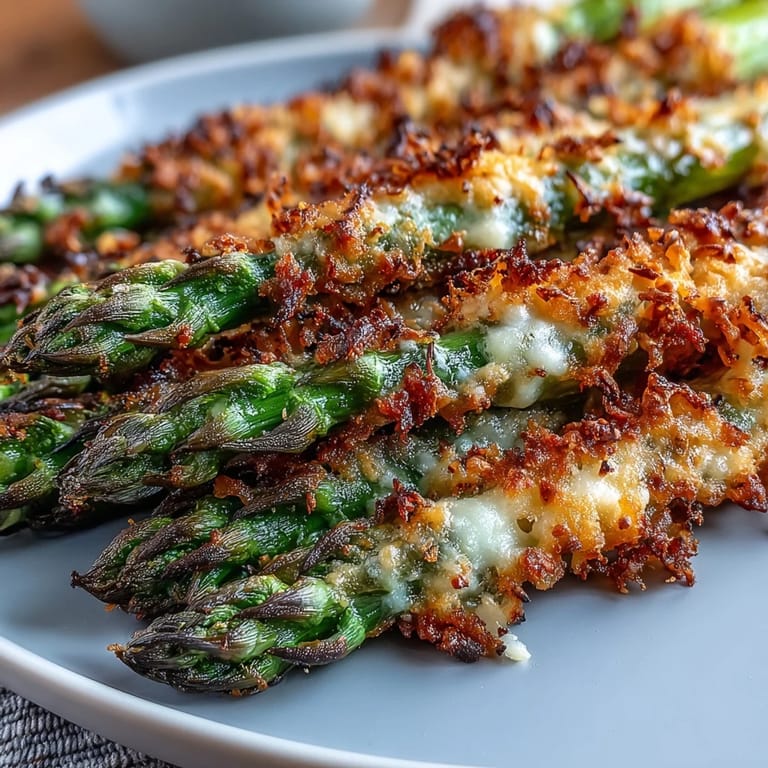
 There was a spring evening when I served these alongside roast chicken, and my neighbor, who stopped by unexpectedly, ended up staying for dinner. She kept reaching for more asparagus, saying she couldn't believe something so simple could taste this good. We sat on the porch with our plates, the sun setting, and she told me stories about her grandmother's garden while we finished off the last spears. That night, this recipe became more than just a side dish, it became a reason to slow down and share a meal.
Choosing Your Asparagus
I used to grab whatever asparagus was on sale, but I learned the hard way that thickness matters. Thin spears cook too fast and can turn limp before the crust gets crispy, while medium to thick spears have enough structure to stay tender inside and support the weight of the breading. Look for firm stalks with tight tips and no slimy spots, and store them upright in a glass of water in the fridge if you are not cooking them right away. Fresh asparagus makes all the difference in flavor and texture.
Make-Ahead and Storage
You can coat the asparagus spears up to four hours ahead, arrange them on the baking sheet, cover with plastic wrap, and refrigerate until you are ready to bake. This is a lifesaver when you are hosting and need to get ahead on prep. Once baked, these are best eaten immediately while the crust is still crispy, but leftovers can be stored in an airtight container in the fridge for up to two days. Reheat them in a hot oven or air fryer to bring back some of the crunch, microwaving will make them soggy.
Serving Suggestions and Variations
These spears are incredible with a lemony aioli, a tangy yogurt dip spiked with garlic, or even a simple marinara for dunking. I have also stirred a teaspoon of lemon zest into the panko mixture for a brighter, more citrus-forward crust, and it was a hit. If you want to switch up the cheese, try Pecorino Romano or a sharp white cheddar, both melt beautifully and add their own character to the coating.
- Serve them as an appetizer with toothpicks and a variety of dipping sauces.
- Pair them alongside grilled steak, roast chicken, or baked salmon for a complete dinner.
- For a spicy kick, add a pinch of cayenne or extra red pepper flakes to the breadcrumb blend.
 Pin it
 This recipe has become my go-to when I want to make vegetables feel special without a lot of fuss. I hope it brings as much joy to your table as it has to mine.
Recipe FAQ
- → What thickness of asparagus works best for this dish?
Medium to thick asparagus spears work best as they hold up well during the breading and baking process. Thicker spears remain tender inside while developing a crispy exterior. Adjust baking time based on thickness: thin spears need 8-10 minutes, medium 10-12 minutes, and thick 12-14 minutes.
- → Can I prepare these ahead of time?
Yes, you can coat the asparagus spears up to 4 hours in advance. Arrange them on the baking sheet, cover with plastic wrap, and refrigerate. Bake just before serving for maximum crispiness. This makes them perfect for entertaining.
- → How do I ensure the coating stays crispy?
Use panko breadcrumbs instead of regular breadcrumbs for the crispiest texture. Make sure to pat the asparagus completely dry before coating, press the breading firmly onto each spear, and lightly oil all sides before baking. Baking at 425°F and turning halfway through also helps achieve even crispiness.
- → What dipping sauces pair well with these spears?
These asparagus spears are delicious with aioli, lemon-garlic yogurt sauce, or marinara. The creamy, tangy flavors of aioli complement the savory Asiago crust beautifully, while marinara adds a classic Italian touch. Fresh lemon wedges also brighten the flavors perfectly.
- → Can I use an air fryer instead of the oven?
Absolutely! Air frying produces excellent results with even crispier texture. Cook at 390°F for 7-10 minutes, turning the spears halfway through. The air fryer's circulating heat creates a beautiful golden crust while keeping the asparagus perfectly tender inside.
- → What can I substitute for Asiago cheese?
Parmesan is the best substitute for Asiago, offering a similar nutty, savory flavor. Pecorino Romano also works well for a sharper taste. For dairy-free options, use your favorite dairy-free cheese alternative, though the flavor profile will differ slightly.