 Pin it
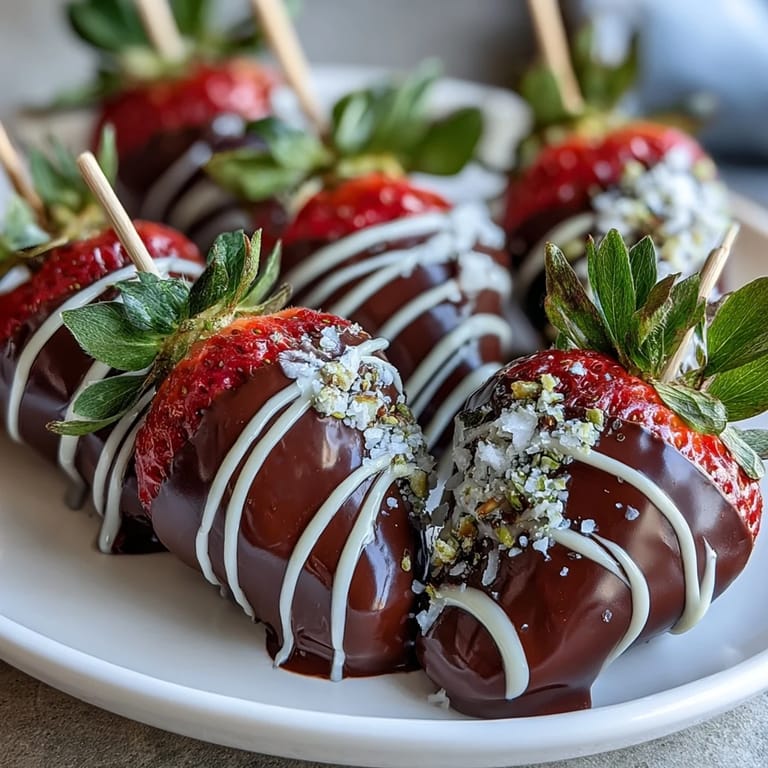
 My friend Sarah showed up at my door one February afternoon with the most stunning gift I'd ever seen—a bouquet of chocolate-covered strawberries arranged like flowers, each one glistening with dark chocolate. I was so charmed by it that I asked her to teach me right then and there, and we ended up making them together in my tiny kitchen, laughing as chocolate dripped everywhere and we debated whether white chocolate drizzles looked more romantic or ridiculous. That evening, I realized these weren't just desserts—they were edible love letters, and they've become my favorite way to say something sweet without saying much at all.
Last year I made these for my mom's birthday brunch, arranging them in a mason jar with some greenery, and watching her face when she saw them was better than any store-bought gift could ever be. She kept saying she didn't want to eat them because they were too pretty, but of course she did, and then asked me to make them for her book club the following week.
Ingredients
- Fresh strawberries (12 large, stems on): The stems are your secret handles for dipping and what makes them look like an actual bouquet, so don't trim them off no matter how much they bug you.
- Semisweet or dark chocolate (120 g): This is your main coating, and the quality actually matters here—splurge a little on chocolate you'd want to eat on its own, because you will.
- White chocolate (60 g, optional): Save this for drizzling if you want that elegant two-tone look, though it's absolutely optional and the bouquet is stunning without it.
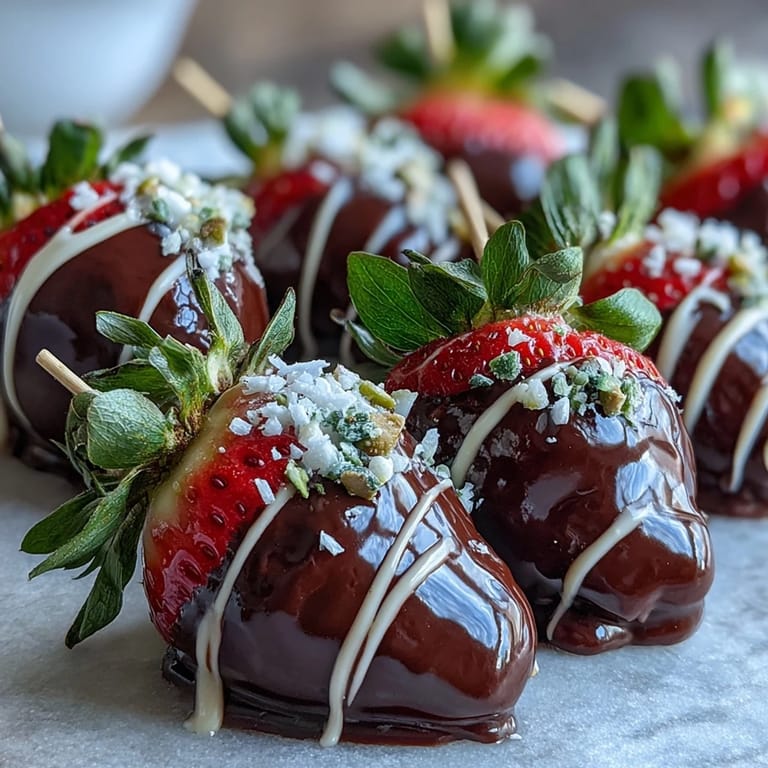
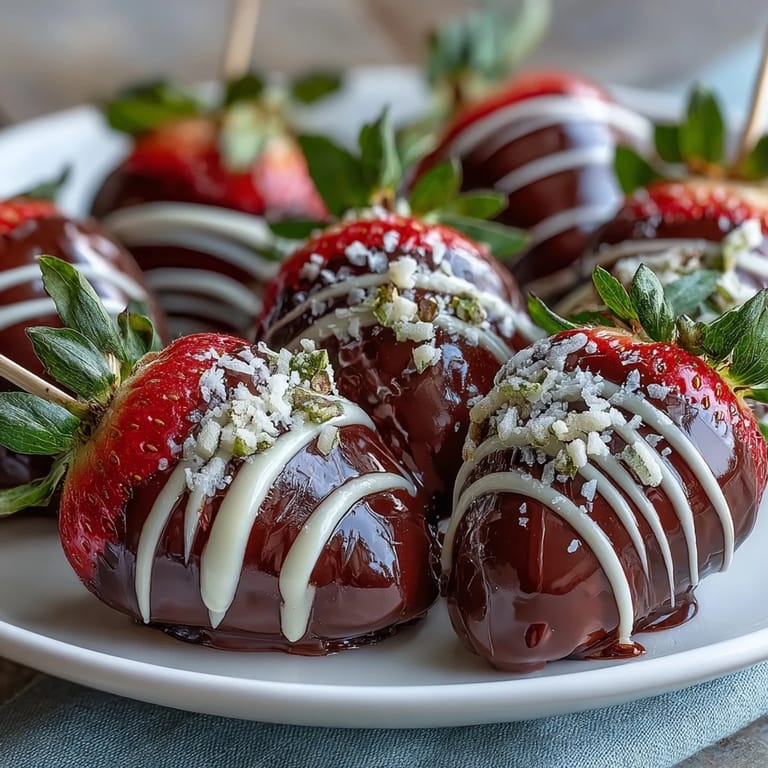
- Chopped nuts, shredded coconut, or edible glitter (optional toppings): Press these on while the chocolate is still wet if you want them to stick—it's the only window you get.
- Wooden skewers (12): These become the stems of your bouquet, so pick ones that feel sturdy and not splintery.
- Floral tape or ribbon: This bundles everything together at the end and hides the skewer ends beautifully.
- Tissue paper or cellophane for wrapping: The finishing touch that makes someone feel like they've opened a gift, not just been handed some fruit.
Tired of Takeout? 🥡
Get 10 meals you can make faster than delivery arrives. Seriously.
One email. No spam. Unsubscribe anytime.
Instructions
- Prepare your strawberries:
- Line a baking sheet with parchment paper, then gently wash your strawberries and pat them completely dry—any lingering moisture will make the chocolate slip right off. This step feels boring but it's absolutely the difference between chocolate that sticks and chocolate that slides.
- Skewer each strawberry:
- Push a wooden skewer gently into the stem end of each strawberry, being careful not to crack or split them. You're aiming for the skewer to go about an inch in, just deep enough to hold steady but not so deep you puncture the whole berry.
- Melt your chocolate:
- Use a double boiler (bowl set over simmering water) or microwave in 20-second bursts, stirring between each one until the chocolate is silky and smooth. The double boiler feels more romantic, but honestly, the microwave works just fine if you're patient and don't let it get too hot.
- Dip with confidence:
- Hold the skewer and swirl each strawberry into the melted chocolate, making sure it's coated all the way around, then let the excess drip off before placing it on your parchment paper. This moment feels like you're creating art, which you kind of are.
- Decorate immediately (if you're doing it):
- If you want nuts, coconut, or sprinkles to stick, sprinkle them on right now while the chocolate is still wet and tacky. Once it starts to set, you've missed your chance, so have everything ready before you start dipping.
- Optional white chocolate drizzle:
- Melt white chocolate separately and drizzle it over the cooled strawberries using a fork or small spoon for an elegant contrast. This is purely decorative but it does make them feel extra special.
- Chill and set:
- Pop them in the fridge for at least 15 minutes until the chocolate is completely set and won't smudge when you touch it. You can do this while you clean up the inevitable chocolate mess you've made.
- Arrange into a bouquet:
- Once the chocolate is firm, gather all the skewered strawberries together like a bouquet of flowers and secure them at the base with floral tape or ribbon. This is where they transform from individual berries into something that looks like it came from a fancy gift shop.
- Wrap with tissue paper:
- Wrap the base with colorful tissue paper or cellophane to hide the skewers and make it look like an actual present. Tie it with a ribbon and suddenly you have something that belongs in a boutique bakery display case.
 Pin it
 There's something magical about giving someone food you've made with your own hands, especially when it looks this beautiful. My sister keeps a photo of the bouquet I made her on her desk at work, and she tells people about it before she eats them, which somehow makes the whole thing feel like it mattered.
The Ripeness Question
Perfectly ripe strawberries are this beautiful balance—soft enough to be juicy and delicious, firm enough not to squish when you're handling them. If you pick ones that are too hard, they'll taste a bit bland, but if you go too soft they'll practically fall apart in your hands. I've learned to give them a gentle squeeze; if they yield just slightly to pressure without feeling mushy, you've got the winner.
Chocolate Coating Secrets
The quality of your chocolate makes an actual difference in both taste and how smoothly it coats. I once tried making these with cheap chocolate chips and the texture was grainy and disappointing, so now I always use decent semisweet or dark chocolate that melts silky smooth. Temperature also matters—chocolate that's too hot separates and gets thin, while chocolate that's cooling down gets thick and hard to work with, so you want it just warm enough to flow but cool enough to set quickly on the cold strawberries.
Timing and Storage Tips
These are honestly best made on the day you're giving them, while the chocolate is still shiny and the strawberries are at their peak freshness. If you do make them ahead, store them in the fridge but pull them out about 15 minutes before serving so the flavors wake up and the berries come back to room temperature. Some people think cold chocolate-covered strawberries are better, but I find they taste more vibrant when they're not chilled.
- You can absolutely make these a few hours ahead if you need to, just keep them in an airtight container in the fridge until gift time.
- If you're transporting them somewhere, keep them cool and try not to stack them on top of each other or the chocolate will stick together.
- They start to get slightly soft after a day or two, so plan to give them away fresh rather than trying to keep them around.
 Pin it
 These strawberries are proof that the most impressive gifts don't have to be complicated—sometimes they just need to be made with a little care and a lot of heart. Every time I make them, I'm reminded that the people we give food to remember not just the taste, but the fact that someone chose to make something beautiful just for them.
Recipe FAQ
- → What type of chocolate works best for coating?
Semisweet or dark chocolate melts smoothly and provides a rich flavor ideal for dipping strawberries. White chocolate can be melted separately for decorative drizzles.
- → How can I ensure strawberries coat evenly?
Make sure strawberries are completely dry before dipping. Hold each by the skewer and swirl gently in the melted chocolate to cover evenly, allowing excess to drip off before setting.
- → Can I prepare the bouquet in advance?
Yes, the bouquet can be assembled a few hours ahead and stored in the refrigerator. Serve at room temperature to enjoy optimal flavor and texture.
- → What are some optional decorating touches?
Sprinkle chopped nuts, shredded coconut, edible glitter, or heart-shaped sprinkles over the chocolate before it sets for added texture and visual appeal.
- → How do I keep the chocolate from melting after assembly?
Chill the chocolate-coated strawberries until the coating is firmly set, then assemble and store the bouquet in a cool place or refrigerator to prevent melting.