 Pin it
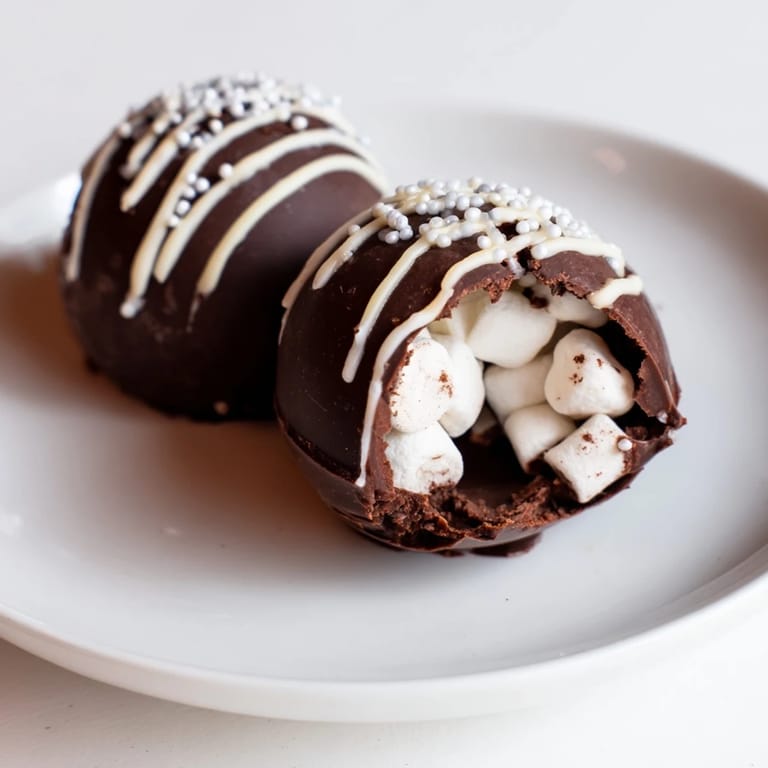
 I discovered hot chocolate bombs during that strange winter when everyone was baking sourdough and trying kitchen crafts. The thrill of watching hot milk transform a chocolate sphere into a swirl of cocoa and bobbing marshmallows made my evening ritual magical again. My first attempts were hilariously lopsided, but there's something so satisfying about cracking that perfect chocolate shell you've made with your own hands.
Last December, I made a batch for my niece who came to visit during a snowstorm. We sat by the window watching fat flakes fall while her eyes widened watching the bomb dissolve in her mug, releasing a cloud of tiny marshmallows to the surface. The look on her face was pure wonder, and she whispered, That was like magic, like the snow melting backwards.
Ingredients
- High-quality chocolate: This is absolutely where you shouldnt skimp, as lower quality chocolate can seize when melting and wont set with the right snap.
- Mini marshmallows: The tiny ones create that perfect moment when they all float to the top at once, unlike larger ones that can get stuck in the bomb.
- Powdered sugar: It dissolves instantly in hot milk unlike granulated sugar which can leave a gritty texture at the bottom of your mug.
- Unsweetened cocoa powder: Dark Dutch-processed gives the richest flavor, though I once accidentally used hot chocolate mix and created a super-sweet version my sugar-loving friend now requests.
Tired of Takeout? 🥡
Get 10 meals you can make faster than delivery arrives. Seriously.
One email. No spam. Unsubscribe anytime.
Instructions
- Melt with patience:
- Stir your chocolate every 20-30 seconds if using a microwave, as chocolate holds its shape even when fully melted and can burn before you realize it.
- Create sturdy shells:
- Apply that first layer with confidence, making sure to push the chocolate all the way up the sides of the mold, paying special attention to the rim where your halves will join.
- The unmolding moment:
- Work with clean, dry hands and gently press on one side of each mold until you see the edge release, then carefully peel the silicone away from the chocolate rather than pulling the chocolate away from the mold.
- The secret seal:
- When joining your halves, hold the empty shell against the warm plate just long enough to see a slight shine appear on the edge, about 2-3 seconds.
- The reveal ritual:
- Pour your milk from a height of about 4 inches above the bomb for the most dramatic melting effect, waiting a moment before stirring to enjoy the full show.
 Pin it
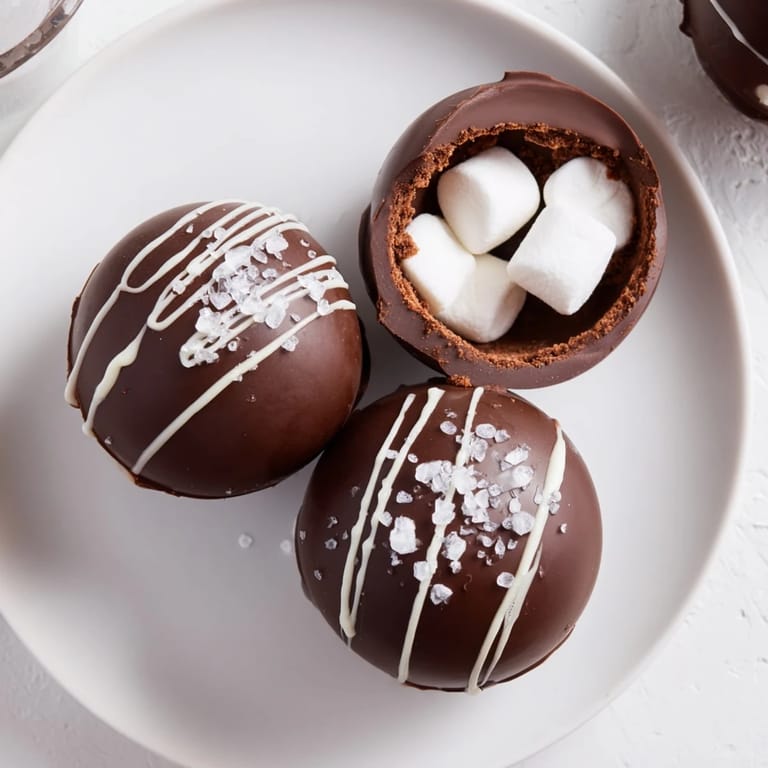
 One evening after a particularly hard day, I made myself a hot chocolate bomb with a sprinkle of sea salt added to the filling. As I watched it transform in the steaming milk, dissolving from solid to liquid in that mesmerizing way, I felt my stress dissolving too. Sometimes the small ritual of making something with your hands becomes exactly the comfort you need.
Flavor Variations Worth Trying
My baking cabinet has become a playground for hot chocolate bomb experiments. Orange zest and a dash of cardamom created a sophisticated version that impressed even my coffee-snob brother. Peppermint extract mixed into white chocolate shells with crushed candy canes made a holiday version that disappeared from my cookie exchange faster than the actual cookies. Even a pinch of cayenne pepper added to dark chocolate created a Mexican-inspired version with unexpected warmth.
Storage and Gifting
The first time I gave these as gifts, I learned the hard way that presentation matters almost as much as taste. I now keep small treat boxes and cupcake liners on hand specifically for packaging hot chocolate bombs. Clear cellophane bags tied with ribbon let the recipient see the decoration while keeping fingerprints off the chocolate. For longer storage, avoid placing them near anything with strong odors as chocolate absorbs surrounding scents surprisingly quickly.
Troubleshooting Common Issues
Every hot chocolate bomb disaster has taught me something useful about chocolate work. Temperature is truly everything with chocolate, and I keep a candy thermometer nearby to make sure melted chocolate stays around 88°F for milk chocolate or 90°F for dark chocolate when working with it.
- If your chocolate looks grainy or seizes while melting, add a teaspoon of neutral oil and stir gently to rescue it.
- Store completed bombs away from humidity which can cause sugar bloom, those white ghostly patches on the surface.
- When serving to guests, warm your mugs with hot water first so the cold ceramic doesnt cool the milk too quickly for a proper melt.
 Pin it
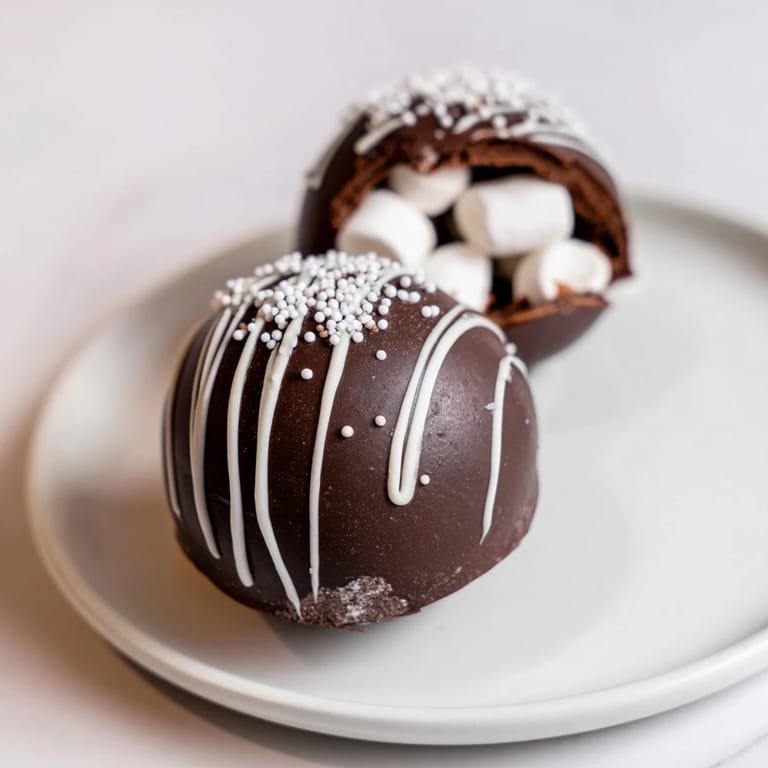
 These little chocolate spheres of joy have become more than just a sweet treat in my home. They're tiny moments of celebration, reminders that sometimes the most ordinary things, like a cup of hot chocolate, can become extraordinary with just a little extra care.
Recipe FAQ
- → What type of chocolate works best for the shells?
High-quality dark or milk chocolate produces the best results. For deeper flavor, blend both varieties. Ensure the chocolate contains cocoa butter rather than substitutes for proper melting and setting.
- → Can I use a microwave instead of a double boiler?
Yes, microwave melting is convenient and effective. Heat chocolate in 30-second bursts, stirring between intervals to prevent scorching. This method gives you better control than continuous heat.
- → How do I prevent the shells from cracking when unmolding?
Allow adequate chilling time between chocolate layers—at least 10-15 minutes for complete setting. Use quality silicone molds that flex easily, and gently wiggle rather than force the shells out.
- → What's the best way to seal the two chocolate halves together?
Warm a plate in the microwave and briefly press the rim of an empty shell half onto it to slightly melt the edge. Immediately press it onto the filled half and hold firmly until sealed. This creates a watertight bond.
- → Can I make flavor variations with different fillings?
Absolutely. Add cinnamon or chili powder to the cocoa mixture for spiced notes. Substitute marshmallows with flavored varieties or crushed peppermint candies. You can also mix in instant espresso powder for mocha-style bombs.
- → How long can these be stored?
Store in an airtight container at room temperature for up to two weeks. Keep them away from humidity and direct sunlight to maintain chocolate quality and prevent melting.