 Pin it
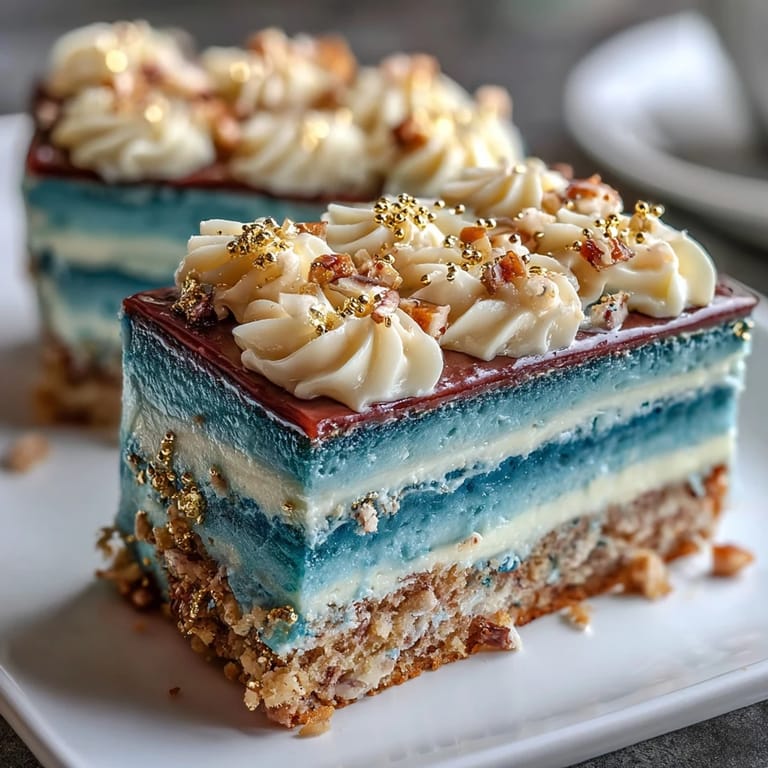
 I can still recall the way the kitchen filled with laughter and scattered flecks of blue food coloring the afternoon we tackled this graduation cake. My hands were streaked with navy by the end of the color mixing, and the anticipation felt electric—there’s something thrilling about layering colors to mark a milestone. The subtle shimmer of gold leaf felt like a promise of celebration, and every step felt like decorating for a party, not just baking. The rich vanilla scent mingled with the sweet excitement of achievement, making the process feel more like a victory lap than a chore. We all agreed that cutting into the ombre layers was almost as satisfying as the first bite.
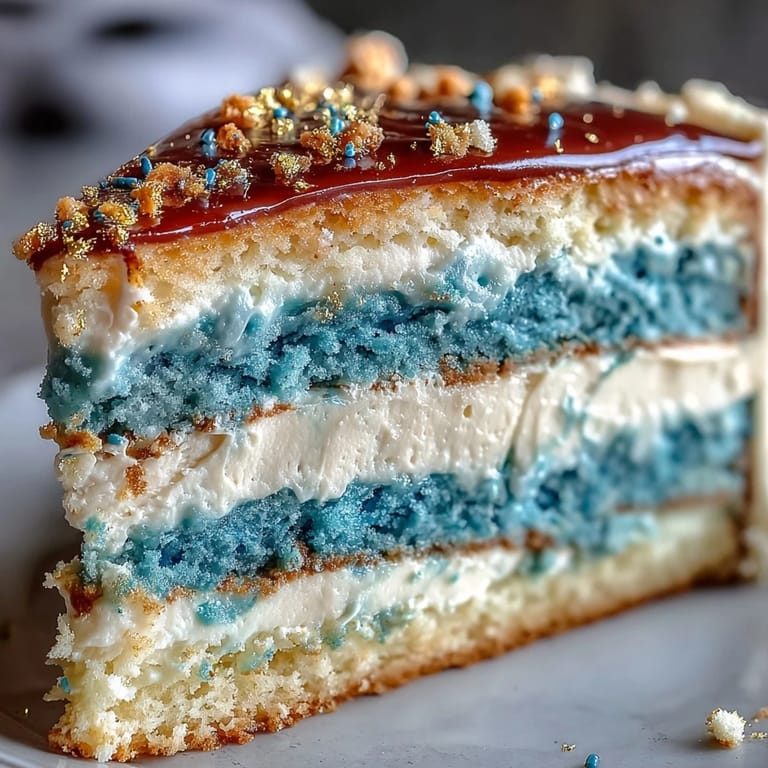
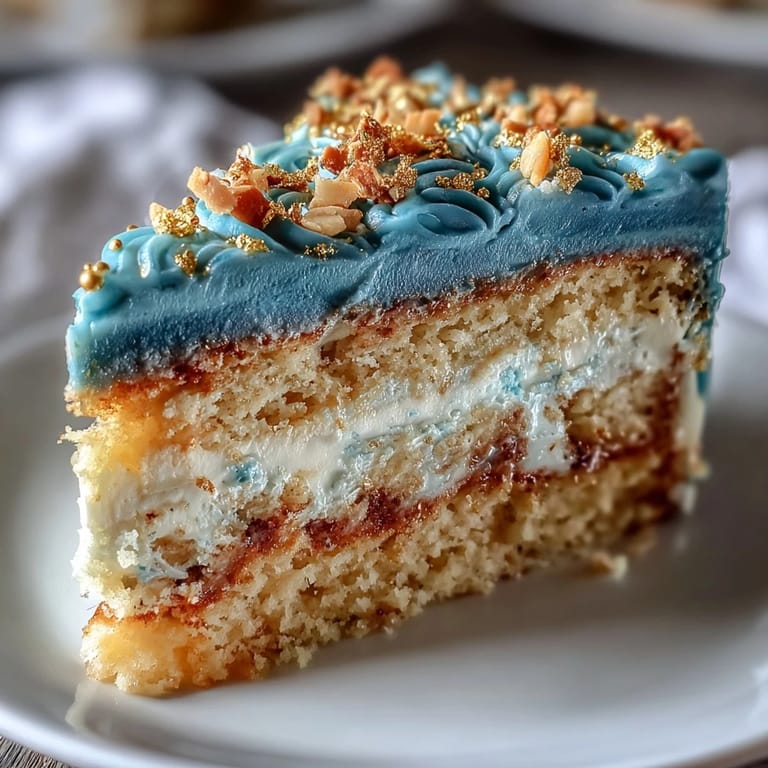
I made this cake for my nephew’s graduation, and the table was packed with smiling faces waiting for the moment he’d slice into it. As he peeled off the gold leaf, I realized how symbolic those shimmering accents were—little victories shining on a big day. My niece giggled as we tried to color the buttercream just right, and the whole family marveled at how the layers looked when cut. It’s the kind of centerpiece that draws everyone together, eager for their slice of celebration. Even the quietest cousin snapped a photo before digging in.
Ingredients
- All-purpose flour: Opt for a soft wheat variety to ensure tender cake layers—sift it well for a subtle, cloud-like crumb.
- Baking powder and baking soda: These leaveners give just the right lift; measure carefully for even rise.
- Salt: Just a pinch intensifies flavors, so don’t skip it.
- Unsalted butter: Room temperature butter creams smoothly into the batter, helping layers bake up plush and rich.
- Granulated sugar: The fine crystals create a delicate cake texture; I always reserve a spoonful for beating with butter.
- Eggs: Room temperature eggs work into the batter more easily, preventing curdling and supporting lightness.
- Pure vanilla extract: Its warmth balances the bold colors and sweet notes throughout.
- Whole milk: Adds both moisture and a tender structure—it should be lukewarm for optimal blending.
- Blue gel food coloring: Gel types provide intense pigment without thinning the batter; layering different shades makes the ombre effect pop.
- Powdered sugar: Sifting prevents lumpy buttercream and guarantees smooth spreading.
- Dark blue gel food coloring: This deepens your final buttercream coat—add incrementally for control over hue.
- Edible gold leaf or gold dust: I learned to handle gold leaf with tweezers for precision and avoid waste—always check that decorations are food safe.
- Clear alcohol: A bit of vodka or lemon extract lets your gold dust glide smoothly onto frosting without streaks.
Tired of Takeout? 🥡
Get 10 meals you can make faster than delivery arrives. Seriously.
One email. No spam. Unsubscribe anytime.
Instructions
- Pans and Prepping:
- Line and grease three round pans—parchment guarantees easy cake release, and a brush of butter lets every edge brown just right.
- Whisk the Dry Ingredients:
- Stir flour, baking powder, baking soda, and salt until blended; the gentle sound of sifting always sets the baking mood.
- Cream Butter and Sugar:
- Beat butter and sugar until pale and fluffy—the transformation is quick, but don’t rush, as this aeration is your ticket to soft layers.
- Add Eggs and Vanilla:
- Crack in eggs one at a time, letting each disappear before adding the next, then splash in vanilla for a cozy touch.
- Combine and Color:
- Alternate flour and milk in three additions, then divide the silky batter into bowls and blend each with a different blue shade—a bit of experimenting makes the gradient magical.
- Bake the Layers:
- Pour each color into its pan, smoothing the tops; bake until a toothpick comes out clean, then cool briefly before turning out onto wire racks.
- Buttercream Magic:
- Beat butter until creamy, add sugar gradually, then mix in vanilla, salt, and a splash of milk—reserve some for crumb coating, and color the rest deep blue for drama.
- Layer and Assemble:
- Level each layer with a serrated knife, stack them darkest to lightest, spreading buttercream between each one for cohesion.
- Crumb Coat and Chill:
- Apply a thin layer of buttercream all over, then chill to lock in crumbs—it makes the final frosting smooth and camera-ready.
- Final Frost and Ombre Touch:
- Spread deep blue buttercream, blending lighter shades upward for a seamless transition—using a cake turntable helps keep your hands steady.
- Gold Accents:
- Lay gold leaf or brush gold dust gently onto the surface, focusing on edges and corners for maximum wow factor—don’t fret if it’s imperfect, shimmer is forgiving.
- Chill and Serve:
- Let the finished cake rest in the fridge until ready to slice—each ombre piece feels like a moment worth savoring.
 Pin it
 Seeing the cake slice through layers of blue at the party felt like a revelation—the crowd gasped and someone whispered, 'It’s too pretty to eat!' For a moment, the cake was as important as the diploma, a symbol of hard work and bright beginnings.
How to Get Ombre Layers Just Right
When mixing colors, adding gel a drop at a time means you can perfect your shades without risking too-dark batter. I always start with the lightest color and gradually deepen each bowl, comparing them side by side. Using cool, natural light helps you see the true blue tones instead of artificial yellows. If you’re nervous, test a spoonful of batter in a ramekin and bake it quickly for a preview of your gradient. Remember: ombre isn’t about perfection, it’s about visual delight.
Buttercream Texture Secrets
I found that sifting powdered sugar and letting the butter sit out a full hour made my buttercream much smoother. Beating the mixture until it’s glossy, not just mixed, gives a professional finish. If the buttercream is too thick, a tablespoon more milk loosens it up instantly, but always add slowly. For texture, I love using an offset spatula and making gentle swoops as I frost. Don’t hesitate to taste test—balanced sweetness is key.
Gold Accents Without the Stress
Applying gold leaf feels intimidating, but it’s really forgiving once you start—use a small brush or tweezers for delicate placement, and avoid touching with warm fingers. If you choose gold dust, mix it well with clear alcohol so it flows on evenly, and practice on wax paper before decorating. Chilling the cake keeps the gold from sliding off, and any excess can be gently brushed away. Be sure to check the packaging for edible certification, and save any leftover gold leaf for future inspiration.
- Always keep your workspace cool before applying gold.
- Work in small sections for more control.
- Don’t stress over minor imperfections—shimmer draws the eye and distracts from flaws.
 Pin it
 May your celebration be as vibrant as the ombre layers themselves—there’s nothing like sharing a cake that feels as special as the milestone behind it. Here’s to sweet memories and golden moments.
Recipe FAQ
- → How do you achieve ombre blue layers?
Divide your batter into multiple bowls and tint each with different shades of blue food coloring before baking.
- → What gives the cake its gold accents?
Edible gold leaf or gold dust, applied gently to the buttercream, creates a shimmering gold finish.
- → Can I use more than three layers?
Yes, you can use four or five layers to enhance the ombre effect with increasing gradient intensity.
- → What type of buttercream works best?
A vanilla buttercream made with unsalted butter and sifted powdered sugar delivers a smooth, rich texture.
- → Are there allergy concerns?
The cake contains wheat, eggs, and dairy. Some gold decorations may contain additional allergens—check packaging.
- → How should the cake be served?
Chill before serving for clean slices and pair with sparkling beverages for celebratory flair.