 Pin it
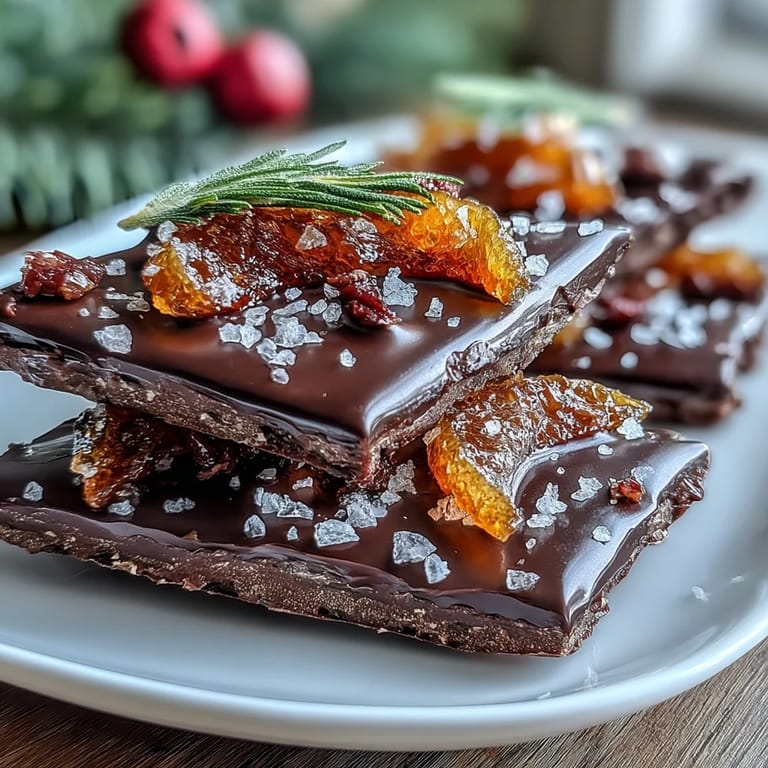
 There's a particular magic that happens when you're wrapping gifts at the kitchen table and the chocolate melts just enough to perfume the whole room with something dark and complex. That's when I stumbled onto making chocolate bark instead of buying expensive boxes from boutique shops—I was stressed about last-minute gifts, the afternoon light was golden, and somehow chopping candied orange peel felt like meditation rather than a chore. This recipe emerged from that exact moment: rich, sophisticated, and honestly easier than it looks.
I made a batch for my neighbor who mentioned offhand that she loved citrus, and watching her face light up when she tasted it—that moment was worth more than the cost of ingredients. She kept one piece in her desk drawer at work and would take it out when she needed something to feel fancy. It's become a tradition now, and I've learned that homemade bark feels like a confession of care in a way store-bought things never quite do.
Ingredients
- Dark chocolate (70% cocoa), 300 g chopped: This percentage strikes the perfect balance—bitter enough to feel sophisticated without being harsh, and it holds its structure when set. I learned the hard way that cheaper chocolate can seize up or bloom with white streaks, so investing here makes all the difference.
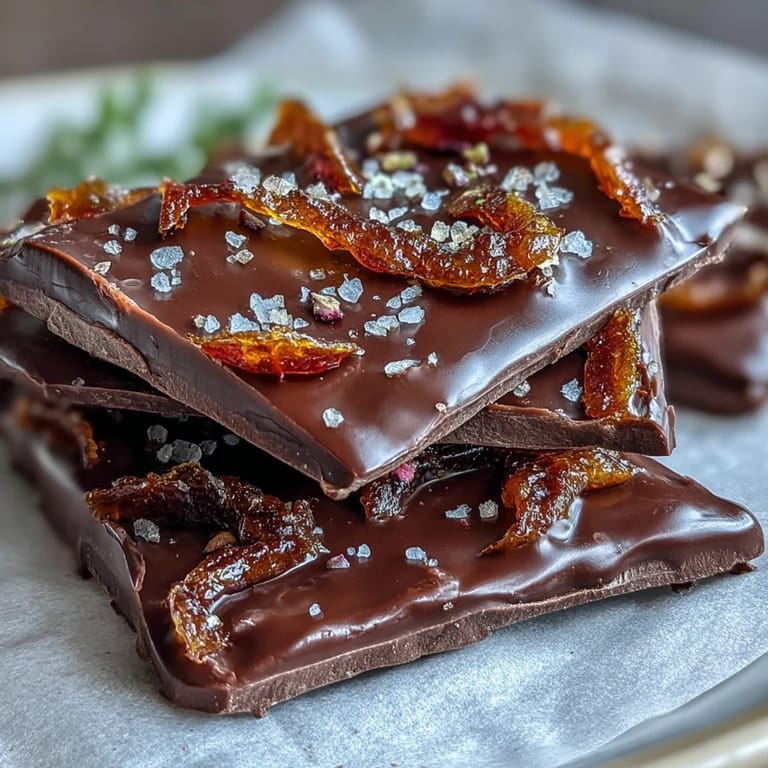
- Candied orange peel, 80 g finely chopped: The star of the show, really, those jewel-bright pieces add both visual drama and a bright counterpoint to the deep chocolate. Buy good quality if you can; some brands are dried out, so squeeze a piece—it should be tender, not brittle.
- Roasted pistachios, 2 tbsp chopped (optional): They add a subtle nuttiness and a beautiful green color that photographs beautifully, but honestly the bark is stunning without them too.
- Freeze-dried raspberries, 2 tbsp (optional): These bring a faint tartness and delicate texture—they don't get soggy like fresh berries would, and they add visual interest without overpowering the citrus note.
- Sea salt flakes, just a pinch: A tiny amount of salt amplifies all the other flavors and creates that sophisticated edge that makes people wonder if there's something they can't quite name in the background.
Tired of Takeout? 🥡
Get 10 meals you can make faster than delivery arrives. Seriously.
One email. No spam. Unsubscribe anytime.
Instructions
- Prepare your stage:
- Line your baking sheet with parchment paper or a silicone mat—this matters because it prevents sticking and makes cleanup almost laughable. Have all your toppings prepped and ready to go because once that chocolate hits the pan, you're working on its timeline, not yours.
- Melt with intention:
- Use a double boiler if you're patient (which I often am not), or microwave the chocolate in 30-second bursts, stirring between each one until it's glossy and smooth. The key is never letting it get too hot—chocolate can go from silky to seized in seconds, and there's no recovering from that.
- Spread and smooth:
- Pour the melted chocolate onto your sheet and use an offset spatula to spread it into a rectangle about a quarter inch thick. Don't overthink the edges; rustic is actually more elegant here, and the unevenness means some pieces will have extra chocolate chunks at the edges, which is never a bad thing.
- Scatter with abandon:
- Sprinkle the chopped candied orange peel evenly across the warm chocolate, then add your pistachios, raspberries, and salt if using. Work quickly but not frantically—you have a few minutes while the chocolate is still warm and workable.
- Press and set:
- Gently press all the toppings into the chocolate so they'll stay put when you break it into pieces. Let it sit at room temperature for a full hour, or speed things up by refrigerating for twenty to thirty minutes until it's completely firm and no longer soft to the touch.
- Break and store:
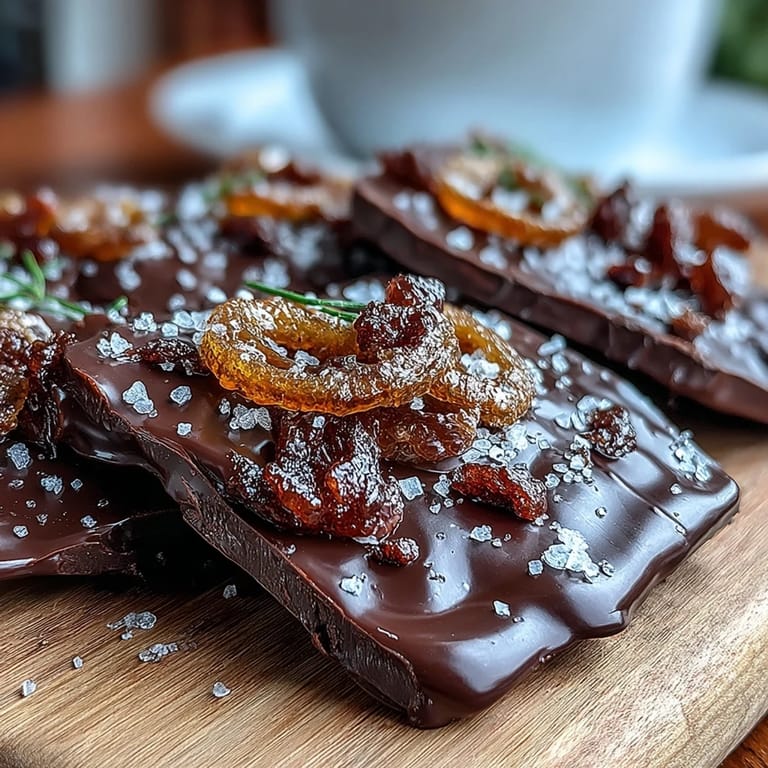
- Use a sharp knife or just let the bark break naturally along its own fault lines—the irregular pieces look more handmade and beautiful. Store in an airtight container at cool room temperature, and it'll keep for up to two weeks, though it never lasts that long in my kitchen.
 Pin it
 There was an evening when my teenager came home stressed about exams and found a piece of this bark sitting on their desk—I hadn't said anything about it, just left it there like a tiny note of encouragement. They ate it slowly, and later said it was the first moment that day when their shoulders dropped. That's when I realized this isn't just a recipe; it's permission to show up for people in small, delicious ways.
Customizing Your Bark
The beauty of bark is that it bends to whatever you have on hand or whoever you're making it for. I've substituted candied lemon peel when orange wasn't available and found the flavor even brighter, almost sparkling; I've made it completely nut-free for friends with allergies by swapping pistachios for roasted sunflower seeds; I've even tried adding a whisper of cayenne pepper once, which created this unexpected warmth that lingered. The structure stays the same, but the personality changes entirely based on what you choose to scatter across it.
When Chocolate Gets Temperamental
Chocolate is honest—it tells you exactly when something's gone wrong by looking dull or grainy or refusing to set properly. I learned that double boilers exist not just as fancy equipment but as actual tools that prevent the panic of seized chocolate; the gentle, indirect heat means you can walk away for a moment without worrying. Even if your chocolate does seize (which happens when water touches it), you can sometimes rescue it by adding coconut oil a teaspoon at a time and stirring gently, though honestly it's easier to just start over with a fresh batch.
Gifting and Presentation
The first time I gave this bark as a gift, I wrapped each piece individually in parchment paper and tied them with twine, and it felt like I was presenting jewelry instead of chocolate. Since then, I've learned that even unadorned bark looks special because of the candied peel's bright color and the natural marbling that happens as chocolate cools. If you're wrapping it, use wax paper between layers so pieces don't stick together, and stack them in a pretty box or tin where someone will find them and smile at the care implied.
- Bundle pieces together in parchment paper with twine for an extra-special presentation that feels like an actual gift.
- Pair your bark with a handwritten note suggesting it goes beautifully with espresso, dessert wine, or just a quiet moment.
- Make multiple batches in autumn and winter when people are thinking about gifts and chocolate feels seasonally appropriate.
 Pin it
 Making chocolate bark is one of those rare recipes that feels indulgent to create but simple enough that it never feels like work. It's become my answer whenever someone asks what to bring to a gathering or how to show someone they matter.
Recipe FAQ
- → What type of chocolate works best?
High-quality dark chocolate with at least 70% cocoa content provides a rich, bittersweet flavor that balances the sweetness of candied orange.
- → Can I substitute the candied orange peel?
Yes, candied lemon peel or other citrus peels can be used to introduce a different but complementary bright citrus note.
- → How should the chocolate be melted?
Gently melt over a double boiler or in short microwave bursts to avoid burning, stirring frequently until smooth.
- → What is the purpose of toppings like pistachios and raspberries?
They add texture, color, and extra flavor layers, enhancing the contrast with smooth dark chocolate and sweet citrus.
- → How long should the bark cool before cutting?
Allow the chocolate to set at room temperature for about 1 hour or refrigerate for 20 to 30 minutes until firm enough to break into pieces.